

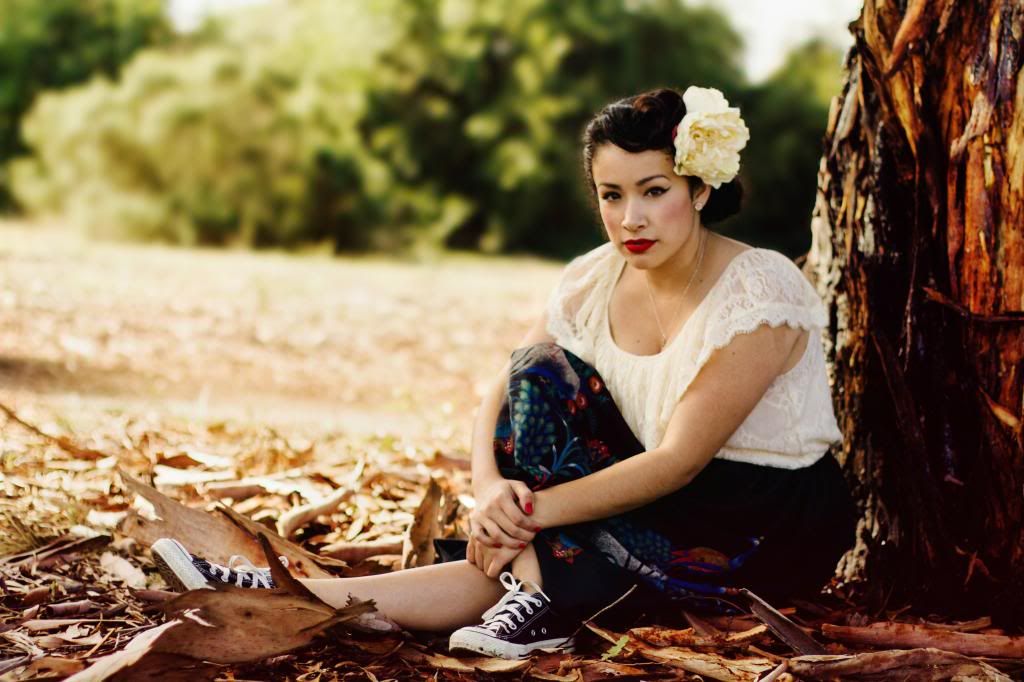
Rollover this image to see the before. :)
This action is for faking a shallow depth of field! Sometimes you just want the background to be blurred but the way to do is to to slowly build it up! It will also put more focus on your subject. This image was taken with a 50mm 1.4 at f/2.
Let's begin...
*The action has three blur layers and it may take awhile to run.*
Layer 1 will soften the background and the following two are more intense than the last. This will give a much smoother transition. I like to use a large soft white brush all over and clean it up later with a hard brush at a reduced opacity.
Tip: Use Layer 1 for the background. Paint on Layer 2 & 3 farther away from your subject.
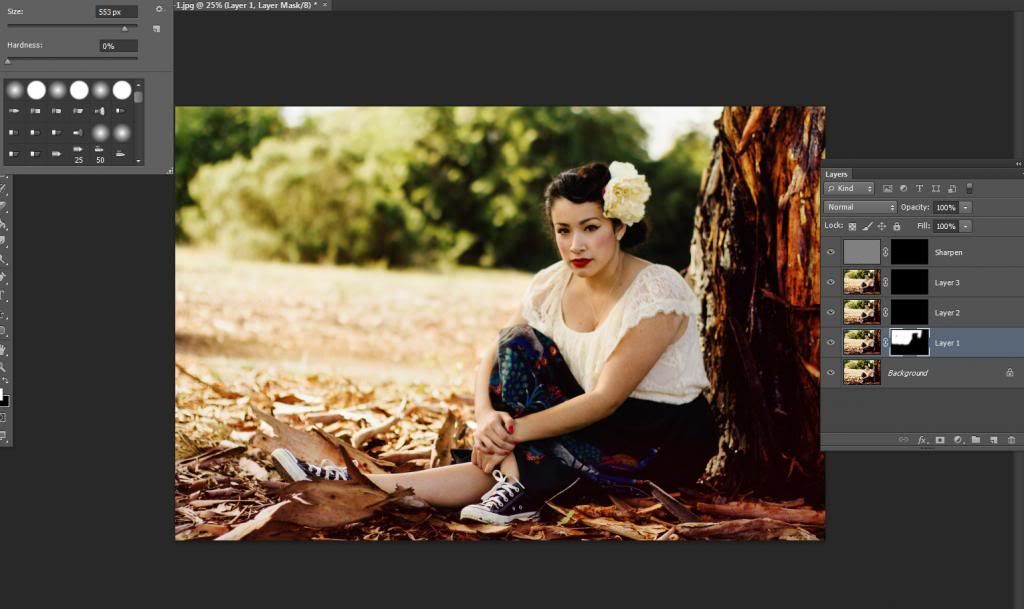
Step 1) I'm using a soft brush at 100% and painting the background I want blurred. It's okay if you accidentally paint your subject on all 3 layers. It can be fixed later and I'll show you how.
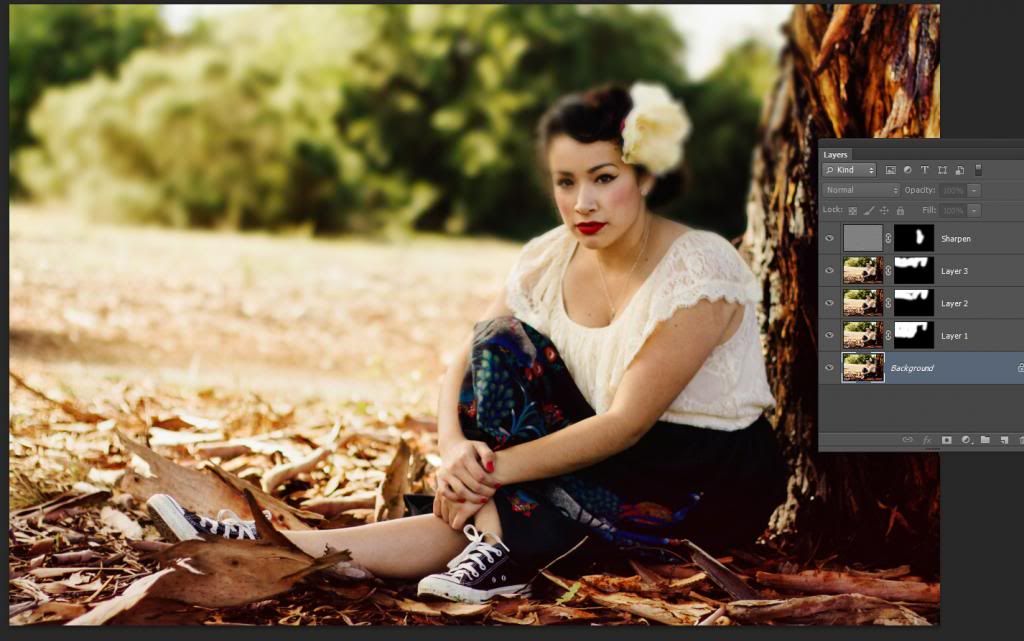
Step 2) I painted all of the blur layers. I used a soft brush at 100% on the Sharpen layer to paint the subject. You can also just focus on sharpening the eyes, lowering the opacity or not using that layer at all! :)
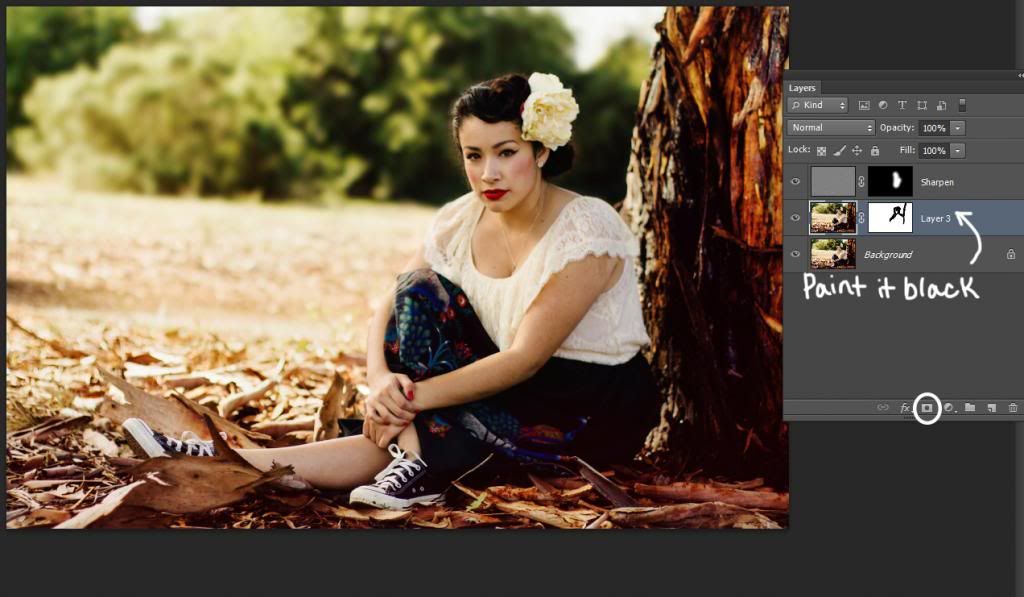
Step 3) Duplicate your background layer. Hold down SHIFT, select all 3 blur layers and right click to merge layers onto your Background Copy.
Select the layer mask (circled in picture below), use a black soft brush at 30-50% and paint back on the areas you don't want blurred. You may need to zoom in and change your brush hardness.
Download Depth of Field Action here.
Install?
1)Drop the file in Photoshop or
2) Open up Photoshop. Go to Window> Actions. Click the button on the right of 'Actions' and choose Load Actions. Click on the file.
Remember to check out Silent Daisy for more Photoshop Actions :)
♥ Crissy
I'm already on there :)
ReplyDelete