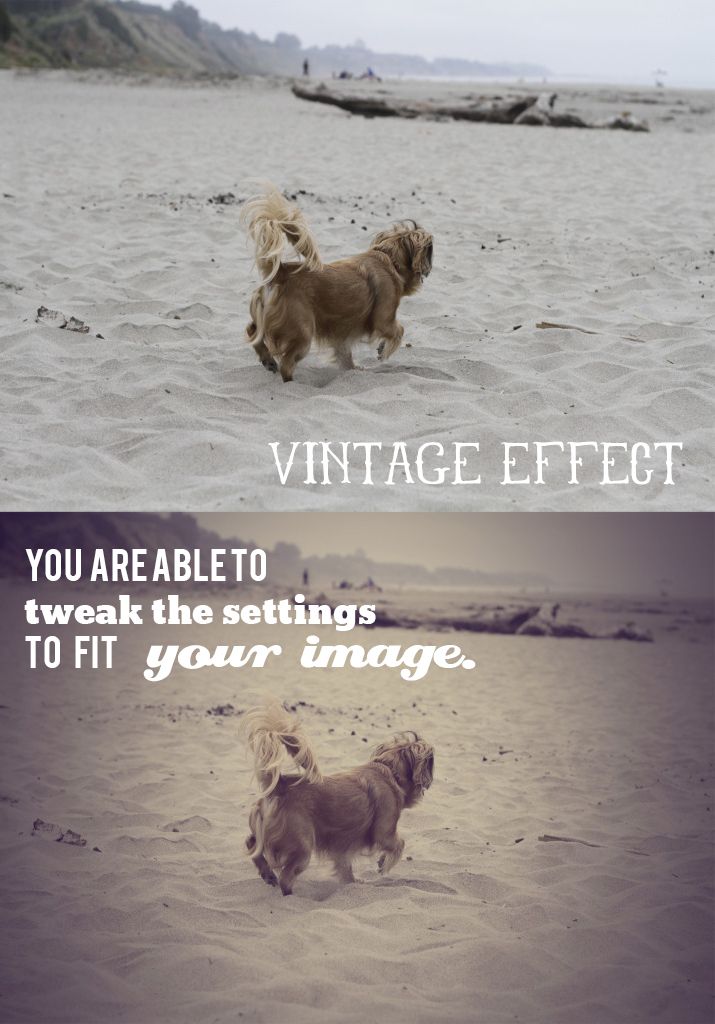
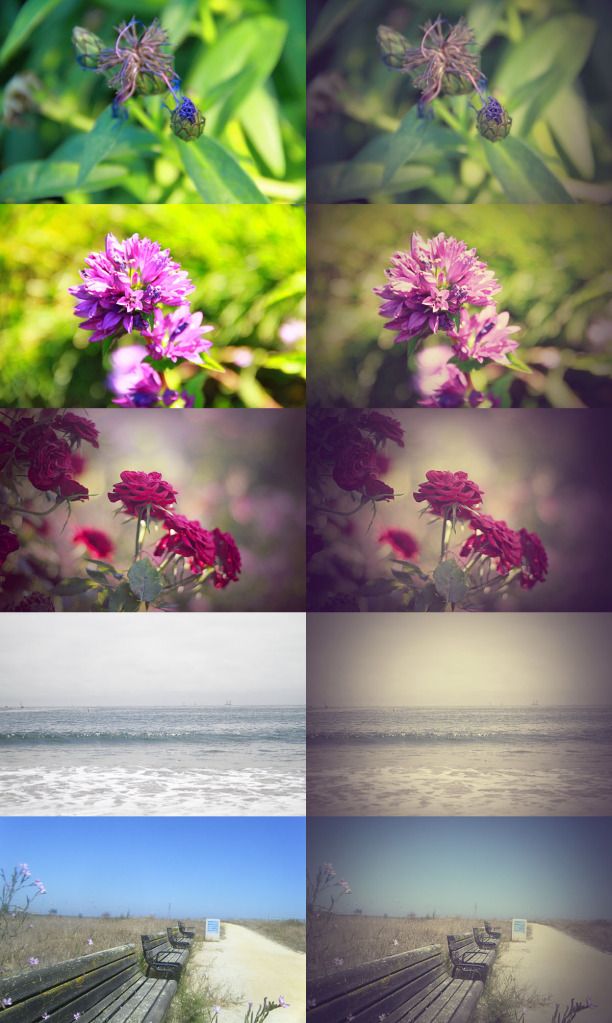
Hello all! Today's tutorial will be showing you one take of "vintage". You can adjust the layers and colors to fit your image. I'm also linking up free downloads to the actions and curves used: Here & here!
This effect works best on vibrant images, beach or images with blue. You can adjust your photo prior before running the action by brightening it up with curves/levels and increasing the vibrancy/saturation to make it pop more.
Let's begin...
Open your image, right click on the layer and select duplicate layer.

Go to Filter> Lens Correction
Select Custom.
Vignette> Amount -96
Midpoint + 16


Click RGB to get to each color and use the curves you downloaded earlier. Click on the little icon with the arrow pointing do down & has lines next to it. Load the curves from there.

Right click, hold SHIFT & select the three layers to merge.

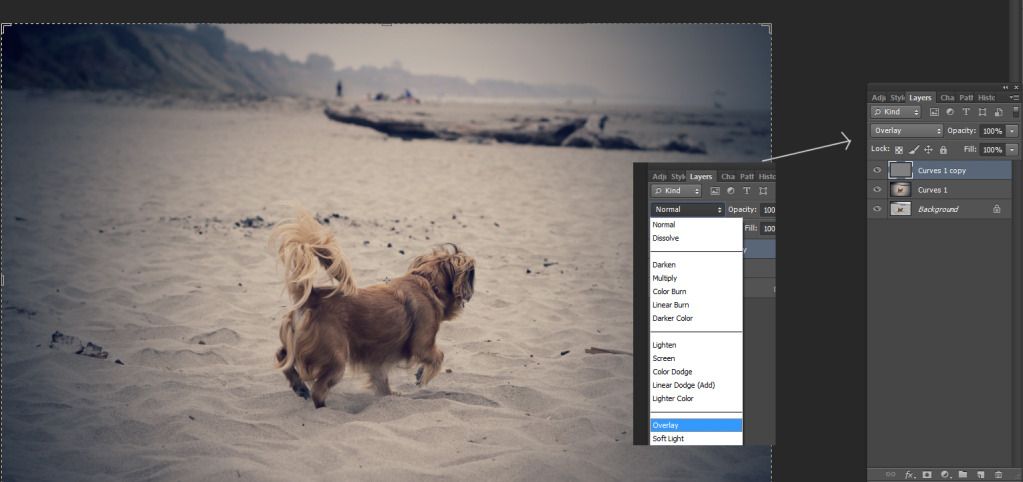
Duplicate the layer. Go to Filter> Other> High Pass and set it to 0.8

Set the layer to Overlay.
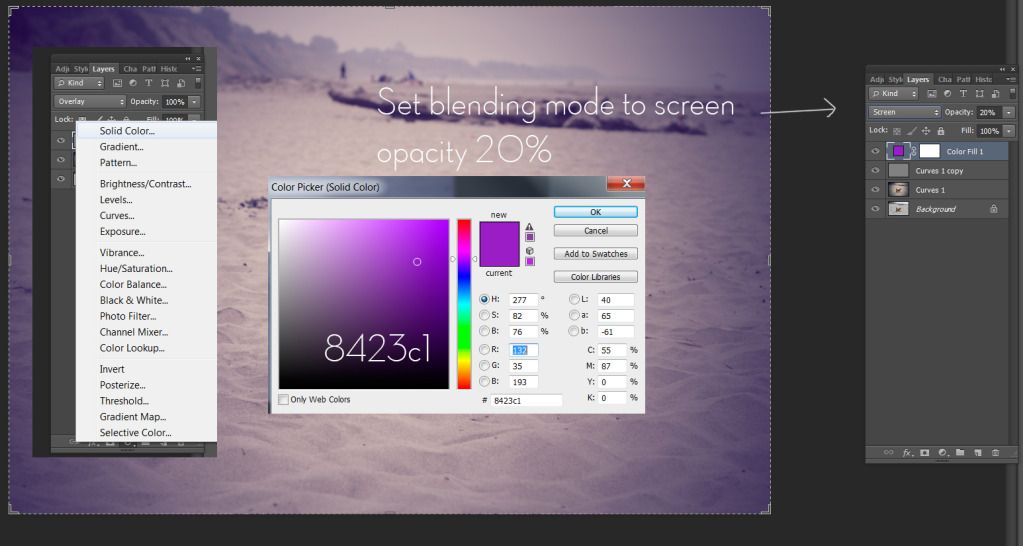
Create a fill layer with a purple or pink. I used #8423C1. Set blending mode to screen and adjust the opacity to 20%.
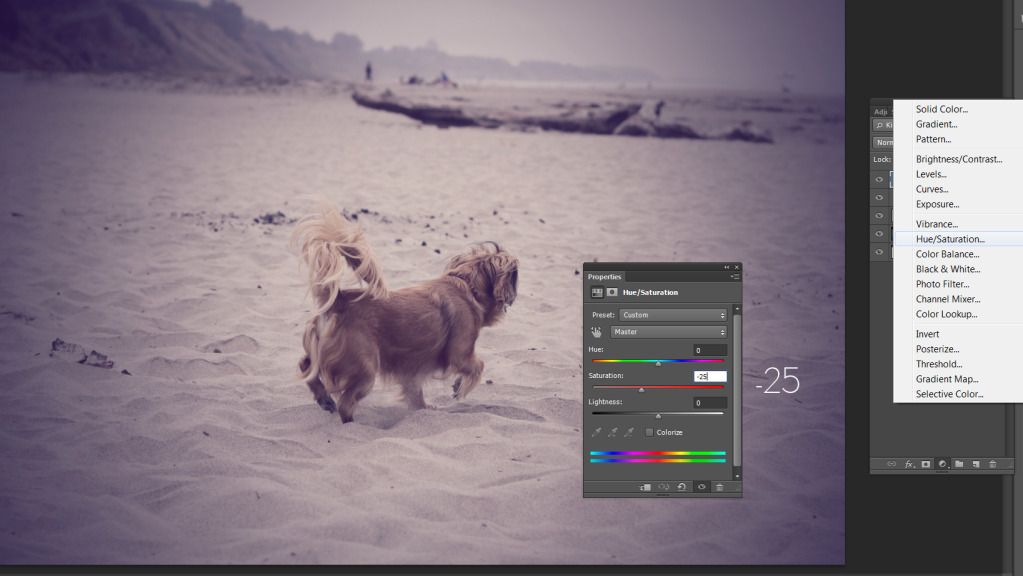
Open up a Hue/Saturation layer and put -25 on Saturation.
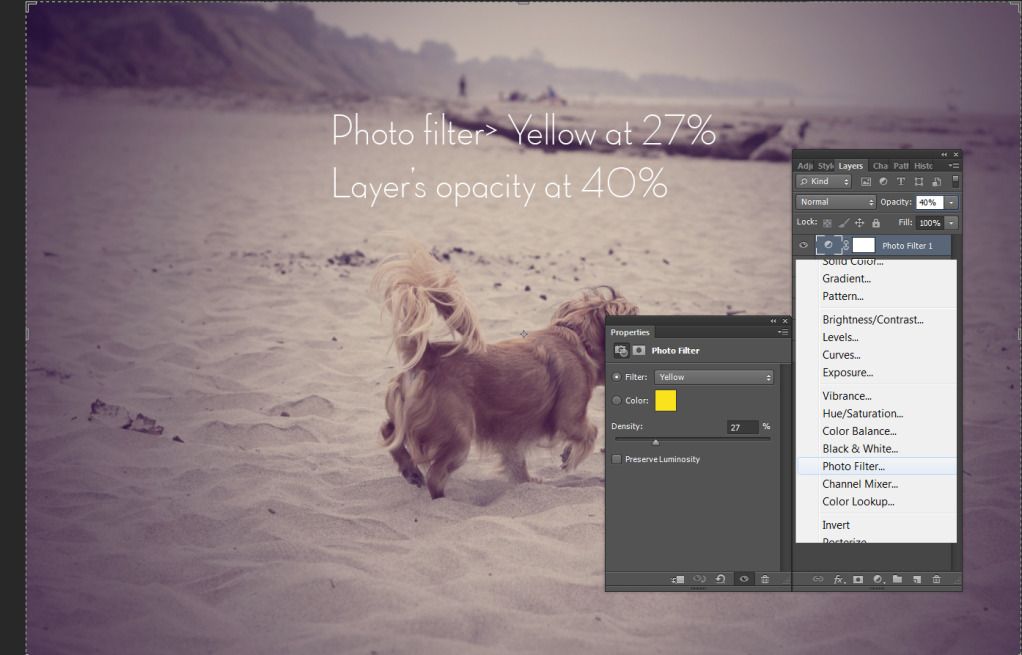
Open up a Photo Filter layer and set Yellow with a density of 27%. Lower the opacity on that layer to 40%.
You can also put the action into a group and lower the opacity of the effect.
No comments:
Post a Comment